
Everyone likes it when you remember their birthday! And for HubSpot users, you don’t need a Facebook or calendar reminder – you can set this field and forget it in HubSpot for easy automation.
In HubSpot, you can remember contacts’ birthdays by adding a field for extra festive fun and personalization to use throughout your campaigns. This is not only easy to do, but it also adds an engagement opportunity that’s meaningful to contacts. If you're wondering how to add the birthday field in HubSpot, you're in the right place!

Reasons to Add a Birthday Field
Personalization is all the rage in marketing these days. By using the birthday field in HubSpot, you can sprinkle in some cheerful messaging to your customers and make them feel extra appreciated when it gets close to the big day. Plus, you may even capture some of that birthday money ; )
Here are some good reasons to add a birthday field to your contact records:
- It’s an easy way to add value to your interactions
- Encourages engagement (including repeat purchases or brand awareness, depending on your industry)
- Automation ensures no one’s birthday gets missed
- A meaningful message goes a long way to build positive rapport with your brand
How to Add the Birthday Field to HubSpot
Adding the birthday field to your contact properties is easy. Just open up your HubSpot portal and follow these simple steps:
- Go to settings → Properties on the sidebar
- Select an object in the dropdown and select contact properties
- Click “create property”
- Enter object type, group, and label (put “birthday” here)
- Select the date picker in field type and enter the date → hit create and you’re done!
How to Import the Birthday Field to HubSpot
Want to import all the birthdays at once directly from the HubSpot CRM? Use the import capability to download all your contacts, and then add a column in your file with the label “birthday” to the top.
After that, be sure to use the format “YYYY-MM-DD” so it imports correctly.
Adding the Birthday Field to a HubSpot Form
Go to the forms section of your HubSpot account, and find the desired form(s) you want to add this field to. From there, you can click the “Add field” button and find “Birthday” on the dropdown. And voila, you’re done! Be sure to click save and test this out if you’d like to make sure it adds to your contacts properly.
A Simple Way to Create a Great Experience
Everyone wants to know they’re being thought of, and a birthday message can be a bright light for someone checking their email first thing in the morning on their special day of celebration.
Now that you know how to add the birthday field in HubSpot, you can create personalized messaging and build a great experience for your customers. Automation settings and ongoing form fields will allow to continue building this as an extra communication throughout the year for your contacts.
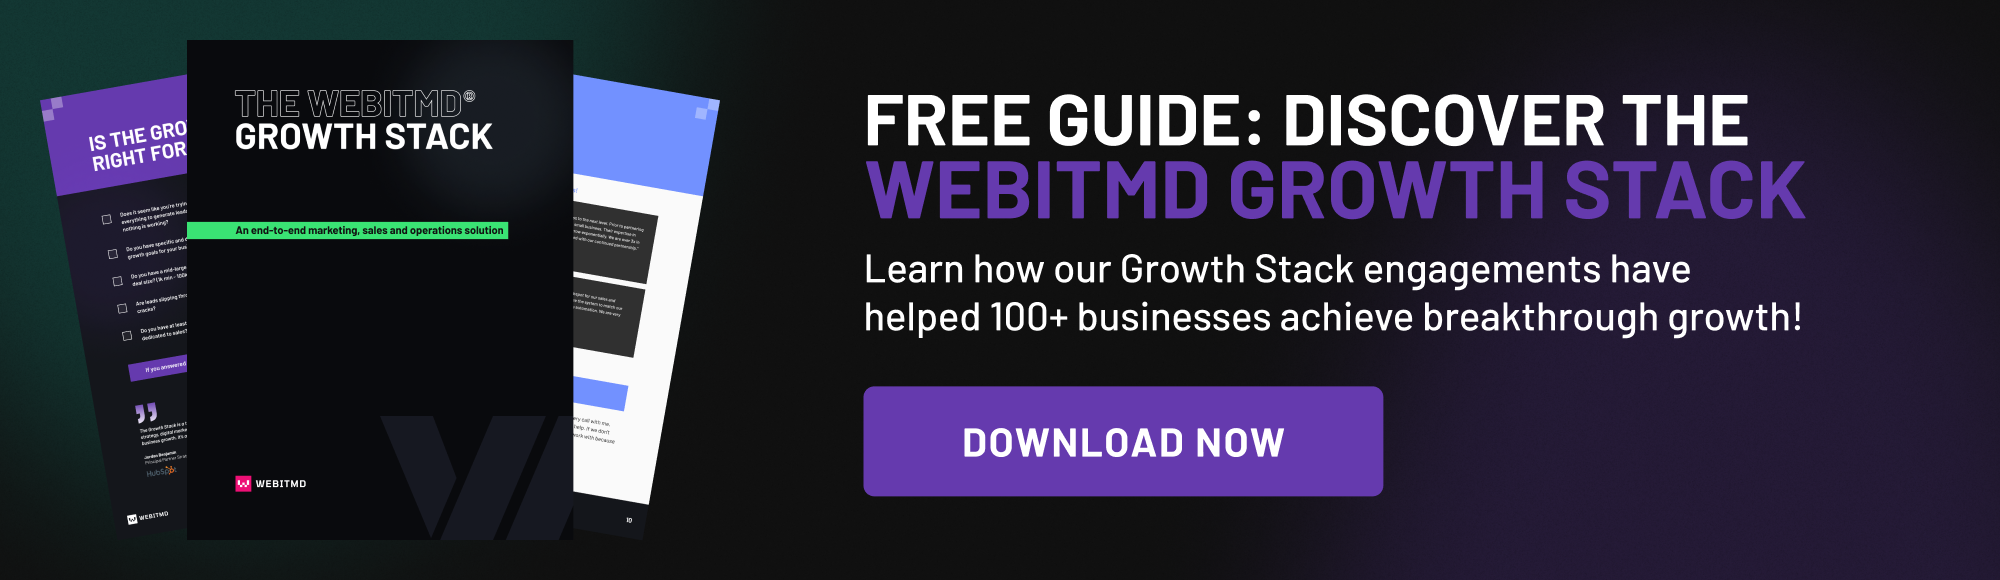
Interested in other ways of building meaningful connections with your contacts? Find out this and other marketing how-tos in HubSpot by downloading our Growth Stack Guide.

.jpg)


.jpg)